online-pizza-ordering-system
This project that implements online pizza ordering system using angular and spring mvc in tomcat with mysql.
About Project
This project has been given a simple name for convenience as PizzaWale
For this name, We don't claim any copyright. (Unless this hasn't been claimed... :P)
Features of this product
- Addition of new Users using Registration page and storing User Details
- Login/Logout with User Profiling
- Separate Accesses based on User Profiling
- Login Persistence even if browser is closed for ease of access
- For Customers Login:
- Ordering the items and checkout page
- Payments page redirection to make the payments online post checkout
- For Employees Login:
- Real - Time listing of the orders to update statuses
- For Admin Login:
- Updation of the menu to add/remove items from order page
Technical Specifications
- Session Persistence even if browser is closed
- SQL Injection proof login
- Encrypted password storage
- AngularJS based UI routing
- Dynamically storing of data into DB(users, orders)
- Real-Time Updation of statuses(ordering)
Technologies
Frontend:
HTML,CSS,JS,AngularJS
Backend:
Java,SpringMVC,MySQL
Pre-Requisites
1.This project needs to be run with the help of Apache Tomcat: Refer This Link
Kindly install the Apache Tomcat.
Current code is tested on Apache Tomcat/9.0.52
2.This project uses MySQL server for DB Operations. Refer This Link
Kindly set-up a DB Server with default configurations and host it locally.
Current code is configured for the MySQL Community Server 8.0.26 @ jdbc:mysql://localhost:3306/, root, root
Requirements Check List
- Apache Tomcat Installation
- MySQL Server @ jdbc:mysql://localhost:3306/, root, root
Building and Running the Project
We hope you have met the required Pre-Requisites mentioned above.
Kindly follow the below steps to run the project.
- Run the SQL script which is in the repository to create the basic tables for the project. (
Pizzawale 20190821 0922.sql)ONE TIME TASK - Import the project into IDE. (
Eclipse IDE) - In the IDE go to
Window > Preferences > Server > Runtime Environmentsand add the installed Tomcat Server.- Navigate to :
Properties > Java Build Path > Libraries section&Add Libraryof typeServer Runtimewhere you can mention the installed Apache Tomcat.
- Navigate to :
- Navigate to :
Properties > Java Build Path > Libraries section& Add all JARs asAdd External JARs...which are present in repository’slib/*folder. - Bulid the project once and ensure there aren’t any errors.
- DB populated with initial data, all the required build dependencies configured, You should be able to
Run on Serverwhich will start the application with tomcat server.
Navigate to this link to see the home page of started application.
You can register to create new user and then login since the user will be added into DB.
To access previous users with admin, employee etc. profiles the credentials are avaialble in the code as well as they can be decoded from hashed passwords in the SQL script via md5 algorithm.
Direct Run
Now you can even directly deploy and use the application. :rocket:
As mentioned above are the two pre-requisite softwares check here
- You can initialize the mysql db with the script given. (
Pizzawale 20190821 0922.sql) - Start the tomcat server and navigate to
Manager Appwhich would be mostly here Further Navigate toDeploySection >Deploy directory or WAR file located on serverwhere you can define the- Context Path : /PizzaWale
- WAR or Directory path : **
**
- Click on Deploy to host the application on local system
Navigate to this link to see the home page of started application.
Deploying Using Docker :rocket:
GREAT NEWS!!!…. :smiley:
Now this application is available as on docker images also. There are two options available.
Docker Engine is the only pre-requisite for this
1 Using docker-compose
The pizzawale.yaml file has all the needful configurations to deploy this application.
- Clone the repository.
- Run
startup.shor this command to start the application:docker-compose -f .\pizzawale.yaml up -dThis command will fetch the existing images of mysql and tomcat server and create their images customized with our application and connect them using docker’s internal network. (This step might take some time in the first run to download all the images.) - Run
shutdown.shor this command to stop and remove the containers of this application:docker-compose -f .\pizzawale.yaml down
Navigate to this link to see the home page of started application.
2 Using docker images with scripts
Here there are couple of scripts(docker commands eventually) which will create the images, containers and then connect them on an internal network.
The ready-made images for the application are already available in the docker hub repository of dhruvinrsoni@dockerhub by names of pizzawale-mysqldb, pizzawale-tomcatserver
| Sr No. | Script Name | Descirption |
|---|---|---|
| 1 | pull.sh |
to fetch the images required for the application and available on docker hub. |
| 2 | create.sh |
to create containers and network, connect them in same network. |
| 3 | deploy.sh |
to start the containers which will start the application eventually. By this the application should get up with some initial time delay required for startup. Navigate to this link to see the home page of started application. |
| 4 | undeploy.sh |
to stop the containers which will undeploy the application. |
| 5 | clean.sh |
to remove the containers and the network. |
Default Users
Below is the table with the credentails of the default users.
| Email Id | Password |
|---|---|
| dhruvin@gmail.com | dhruvin |
| tommy@gmail.com | t |
| dhruvin@pizzawale.com | dhruvin |
| admin@pizzawale.com | admin |
| employee@pizzawale.com | emp |
Screenshots
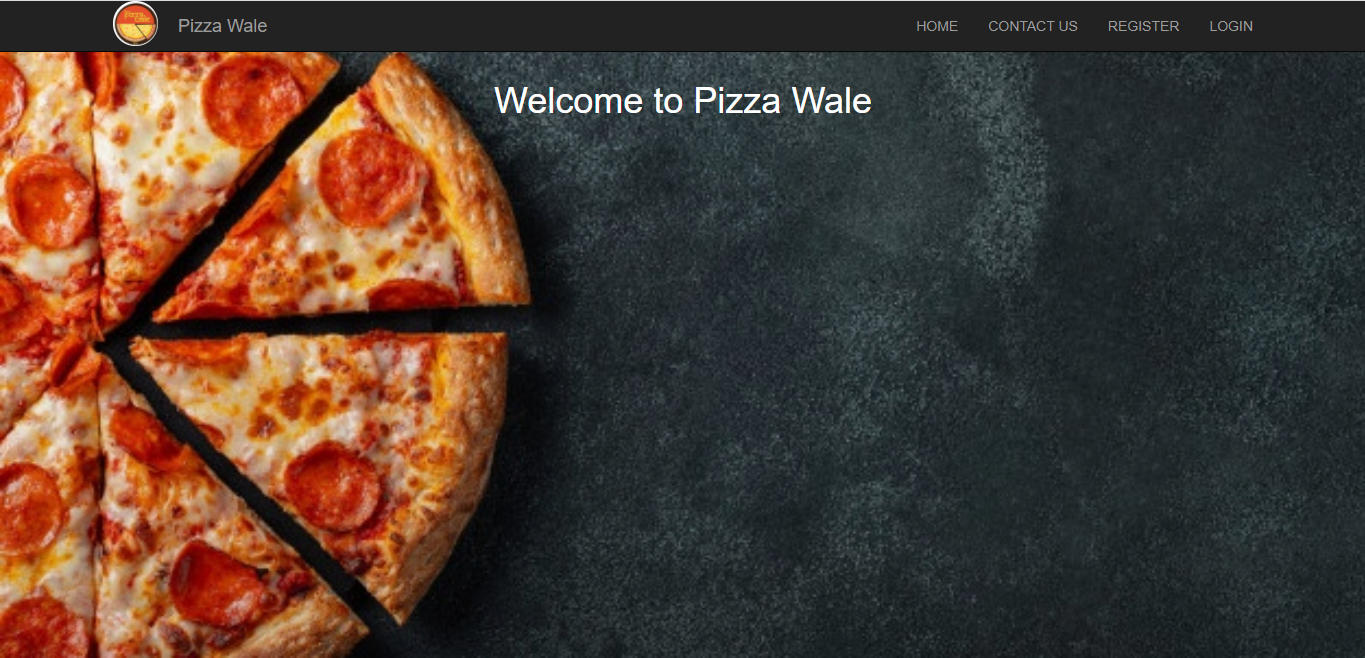
PizzaWale-home-welcome-page
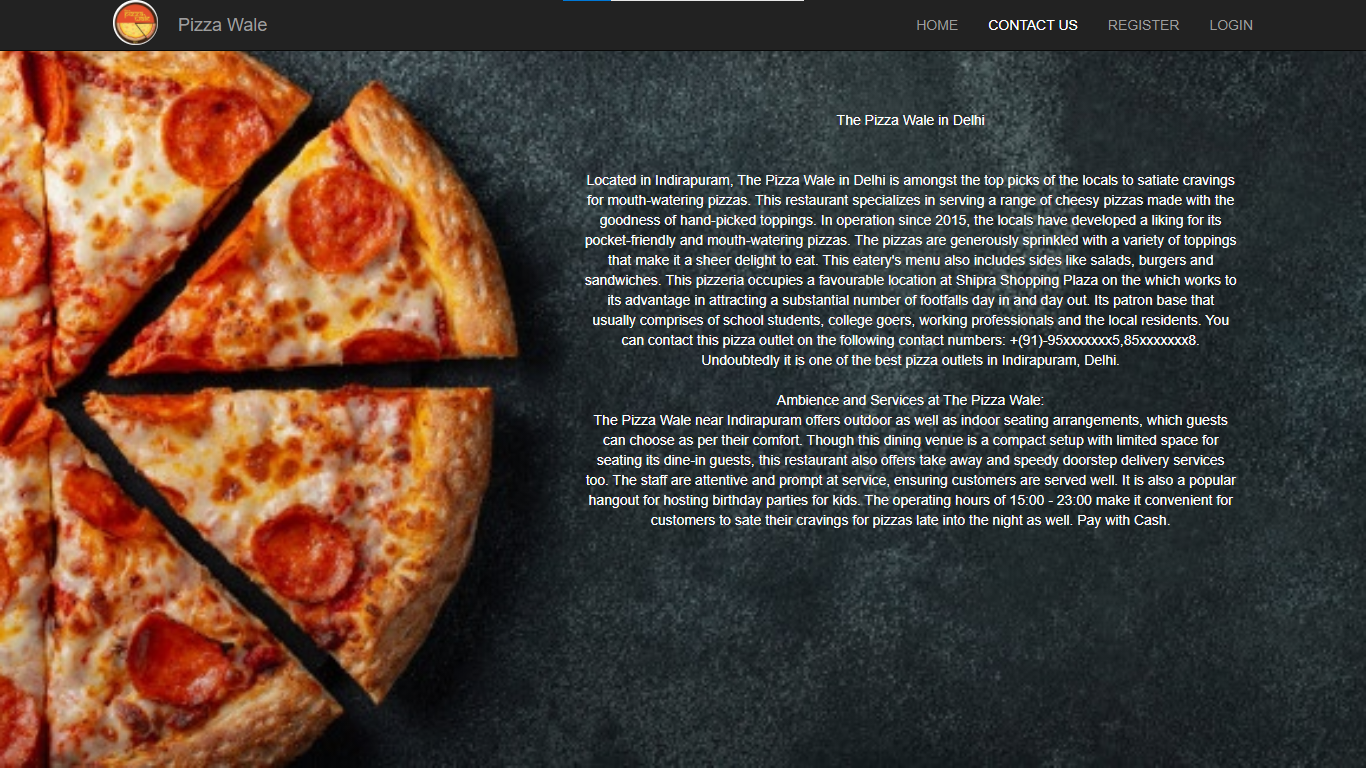
PizzaWale-contact-us-page
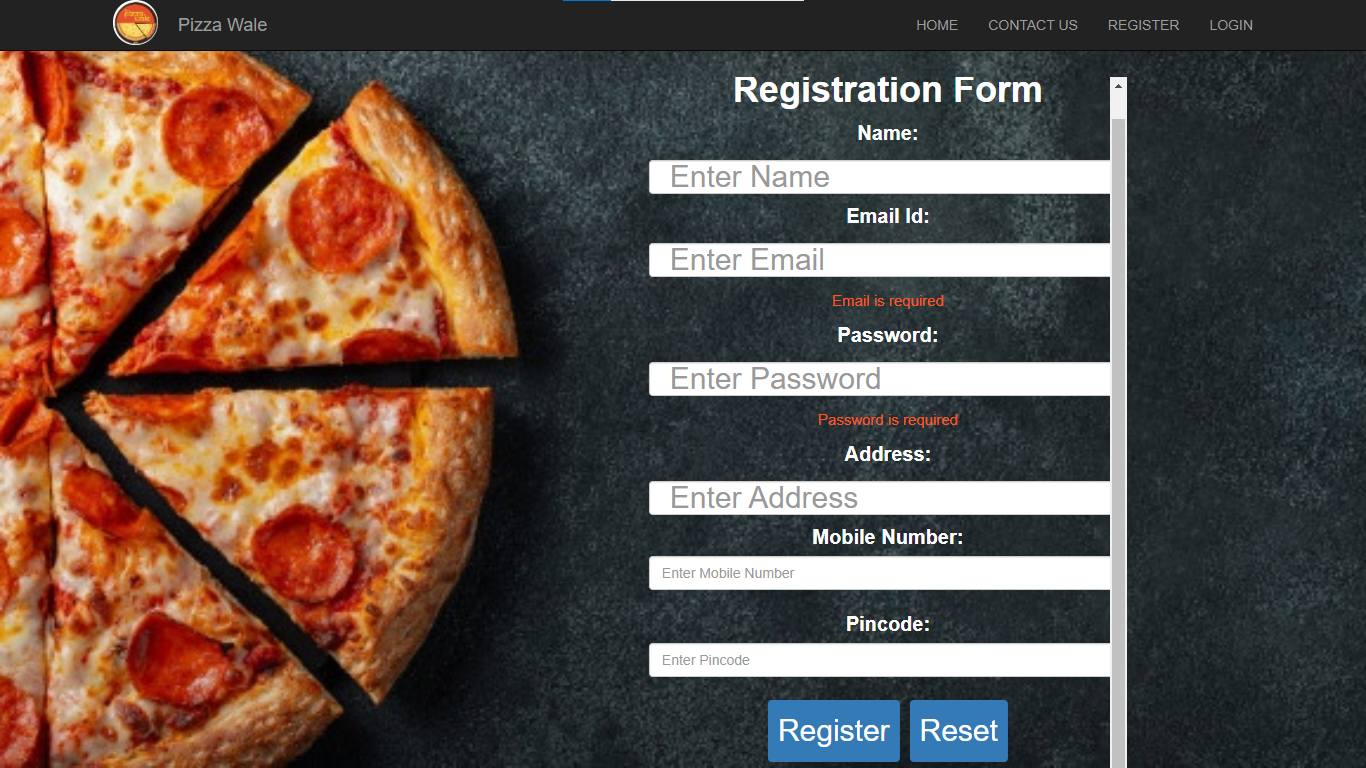
PizzaWale-registration-signup-form
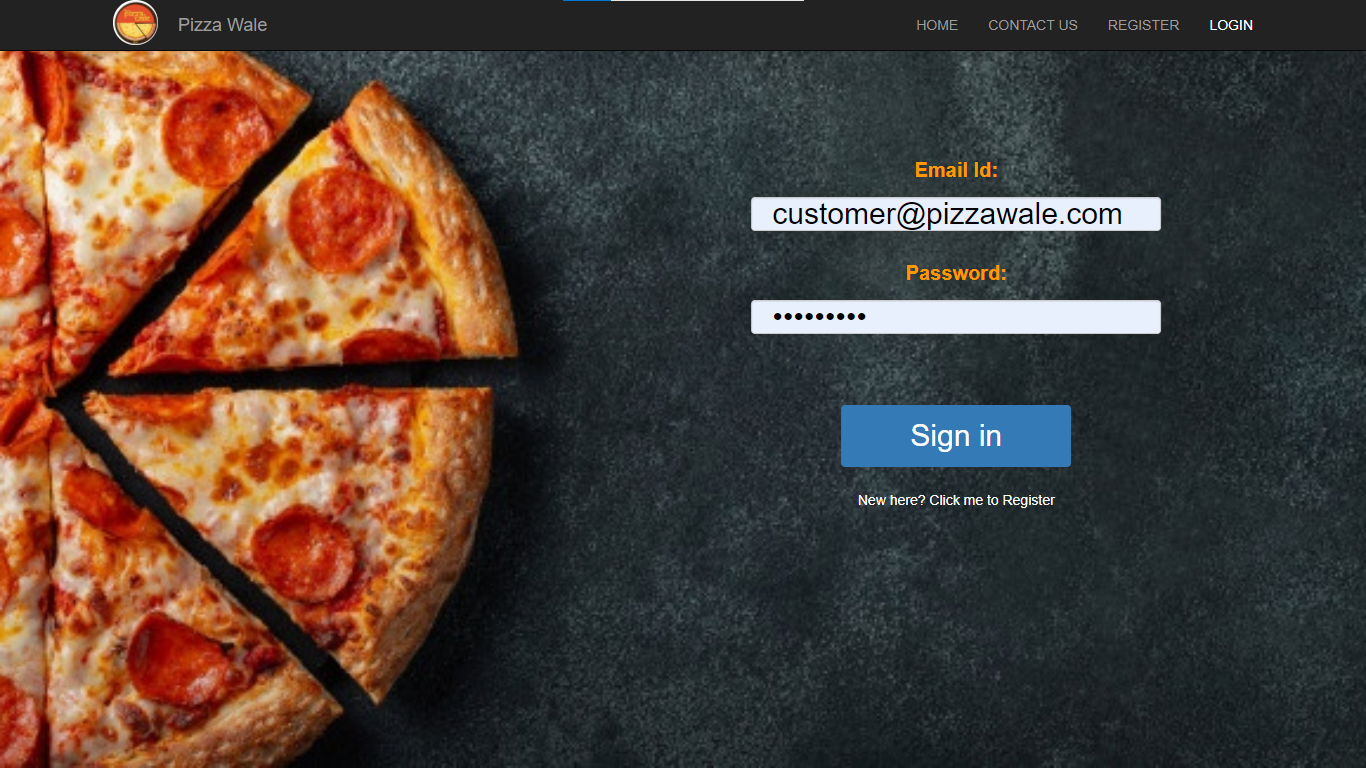
PizzaWale-login-page
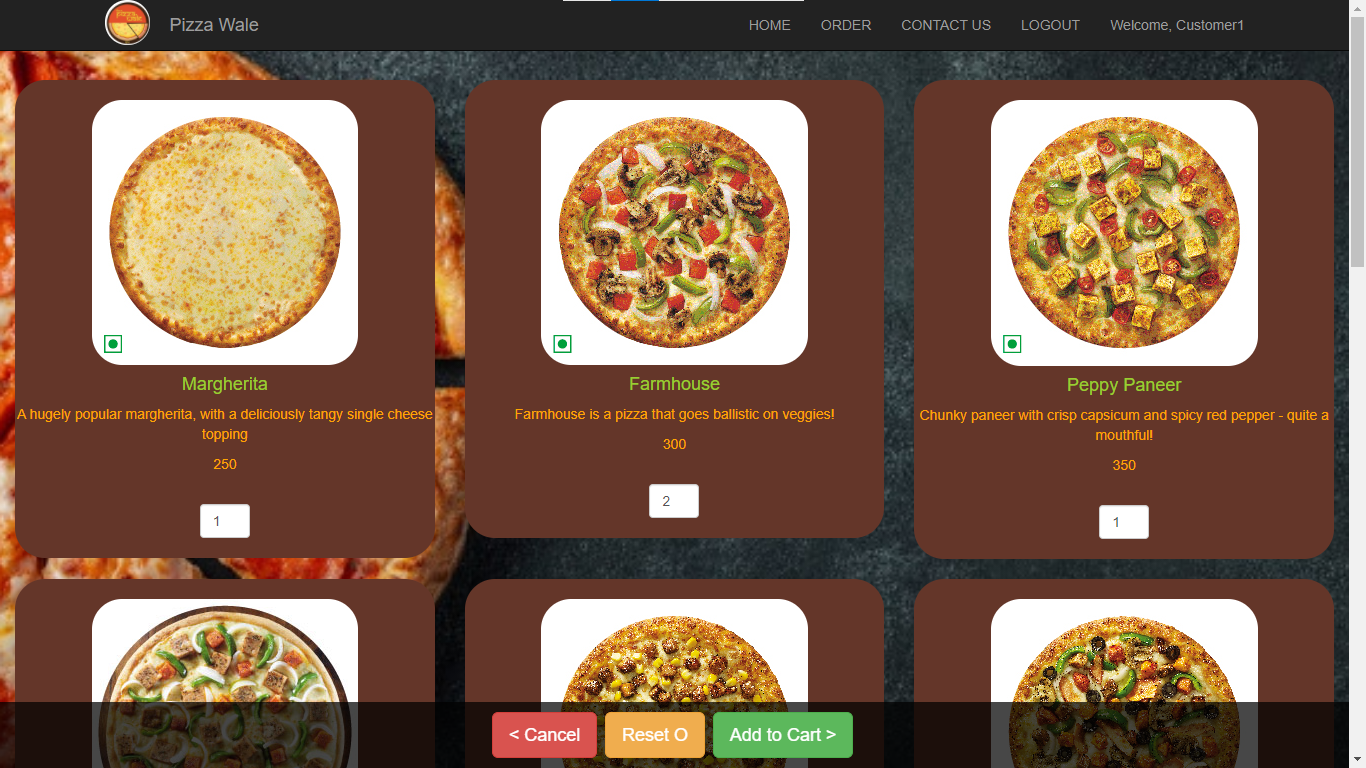
PizzaWale-order-page-1
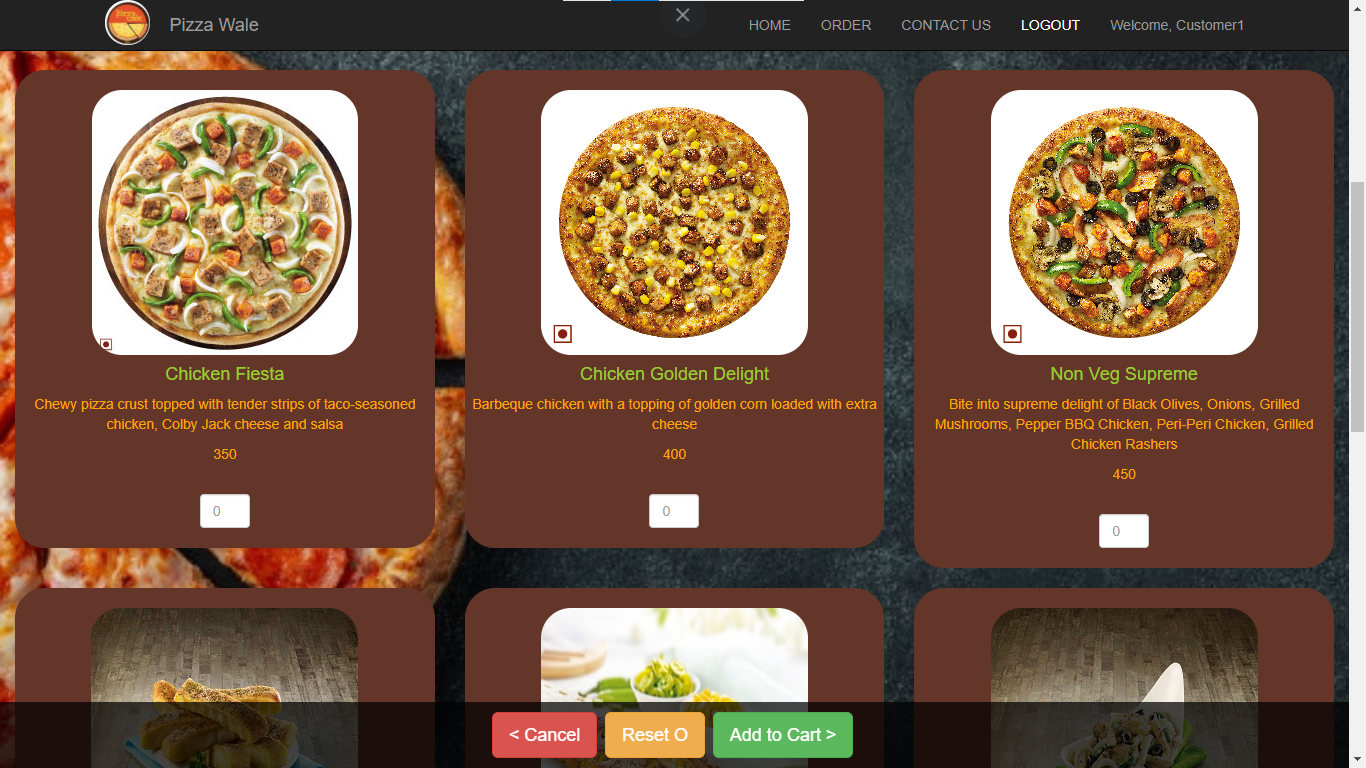
PizzaWale-order-page-2
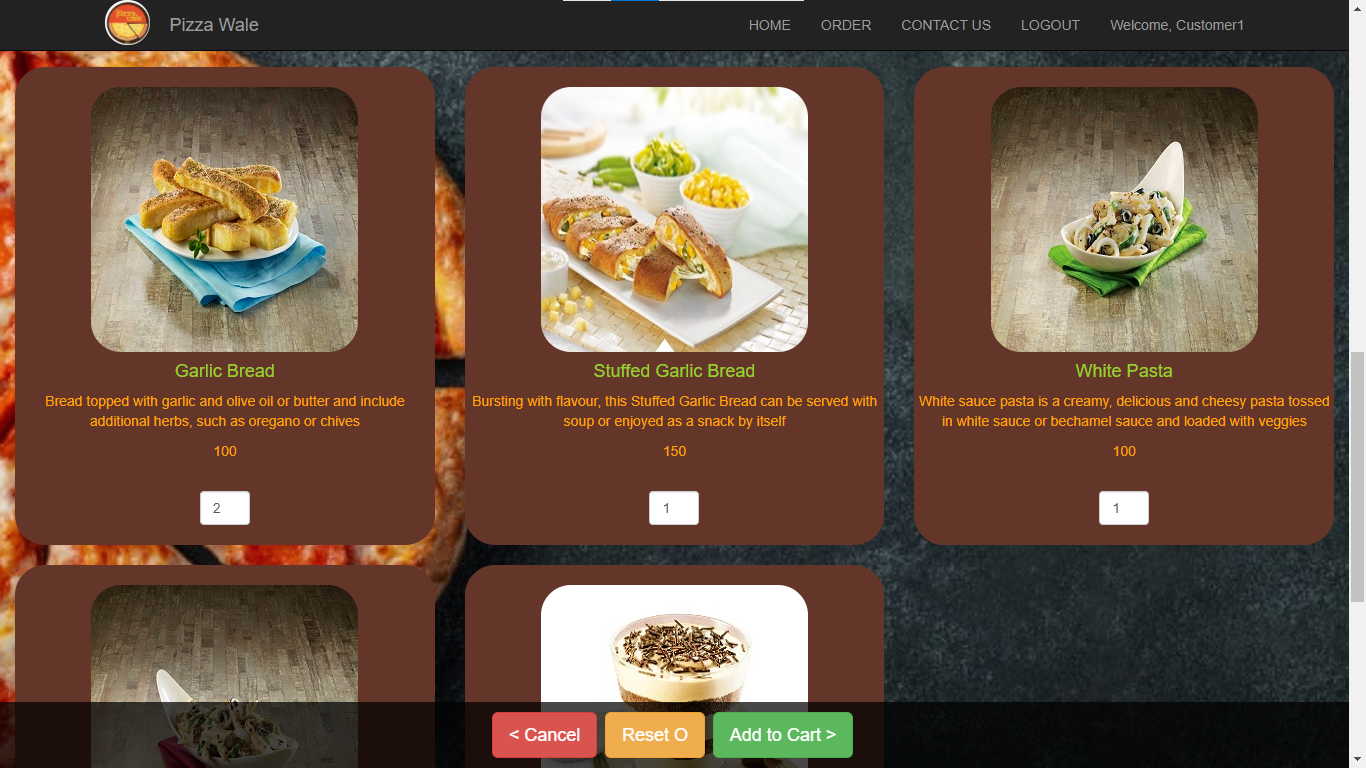
PizzaWale-order-page-3
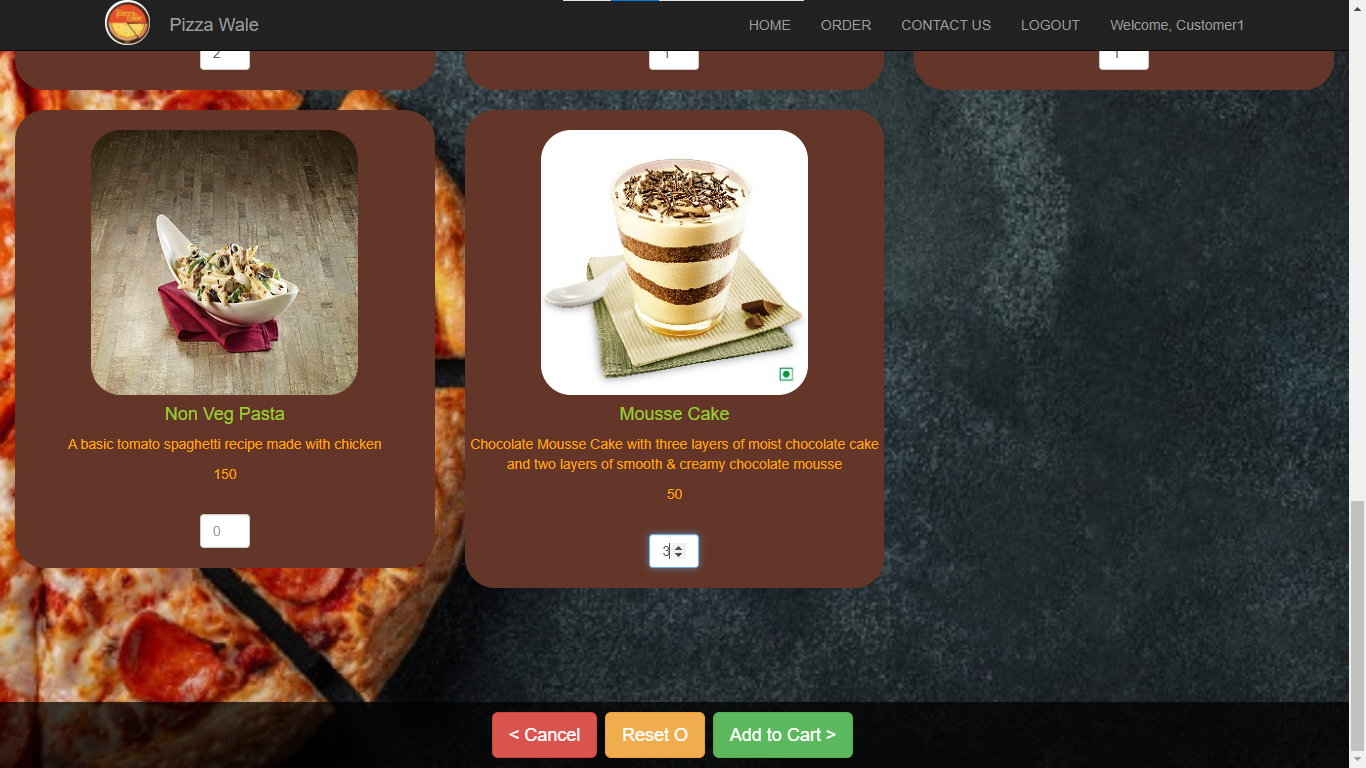
PizzaWale-order-page-4
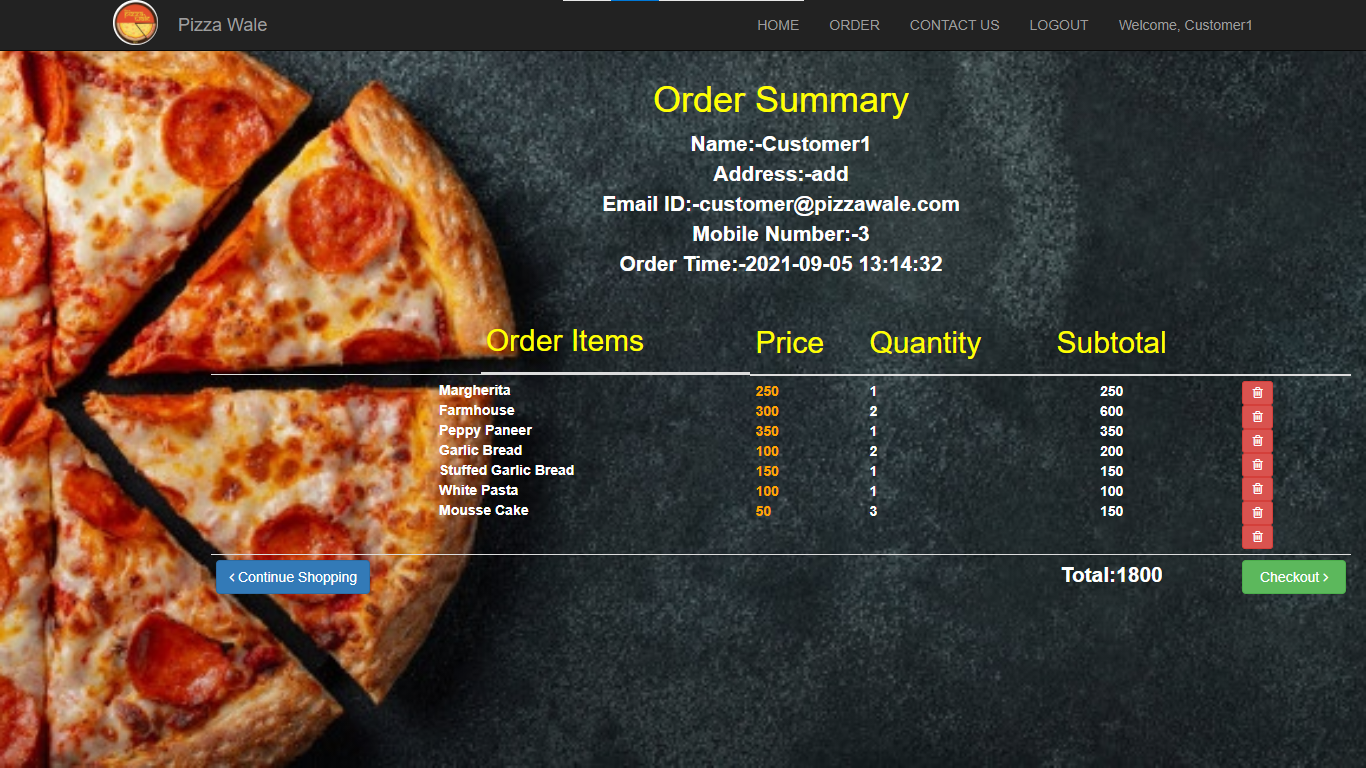
PizzaWale-order-in-cart-summary
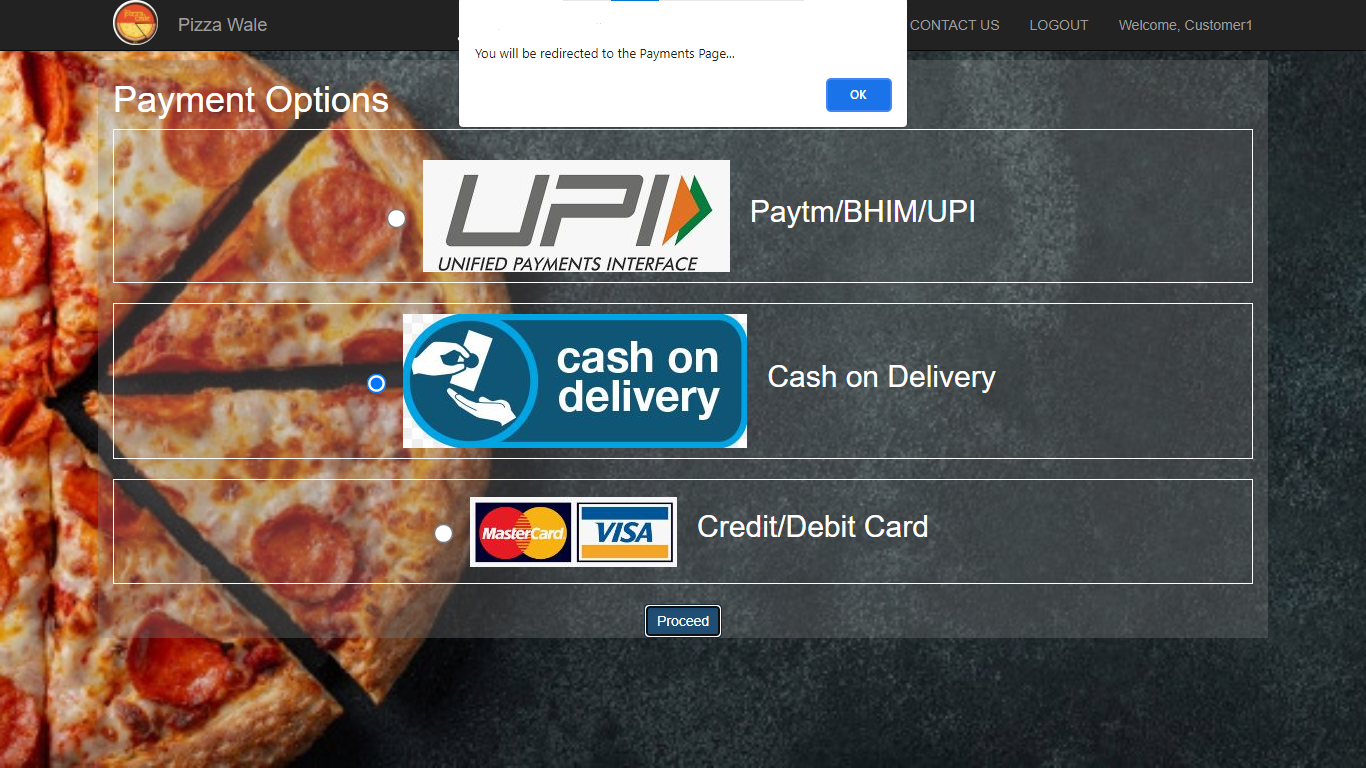
PizzaWale-order-checkout-payment-page
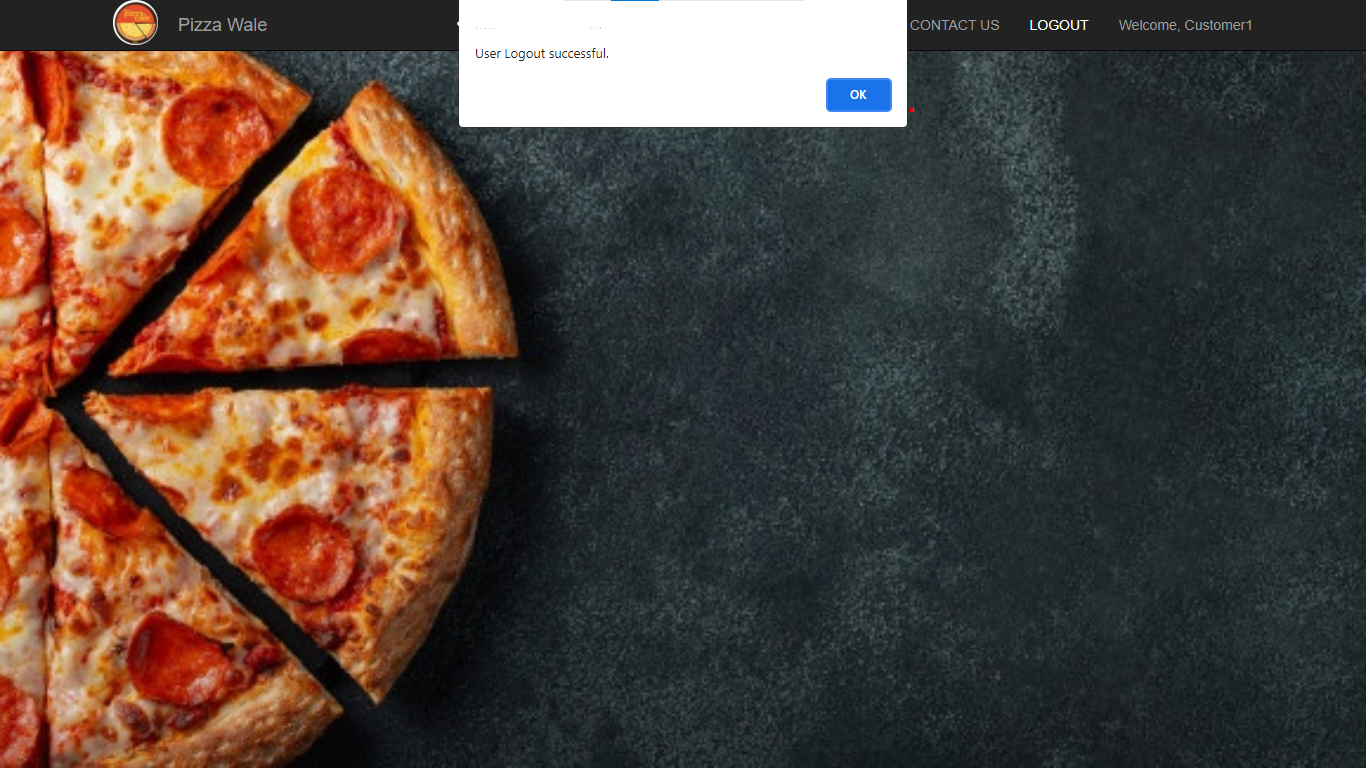
PizzaWale-logout-successful
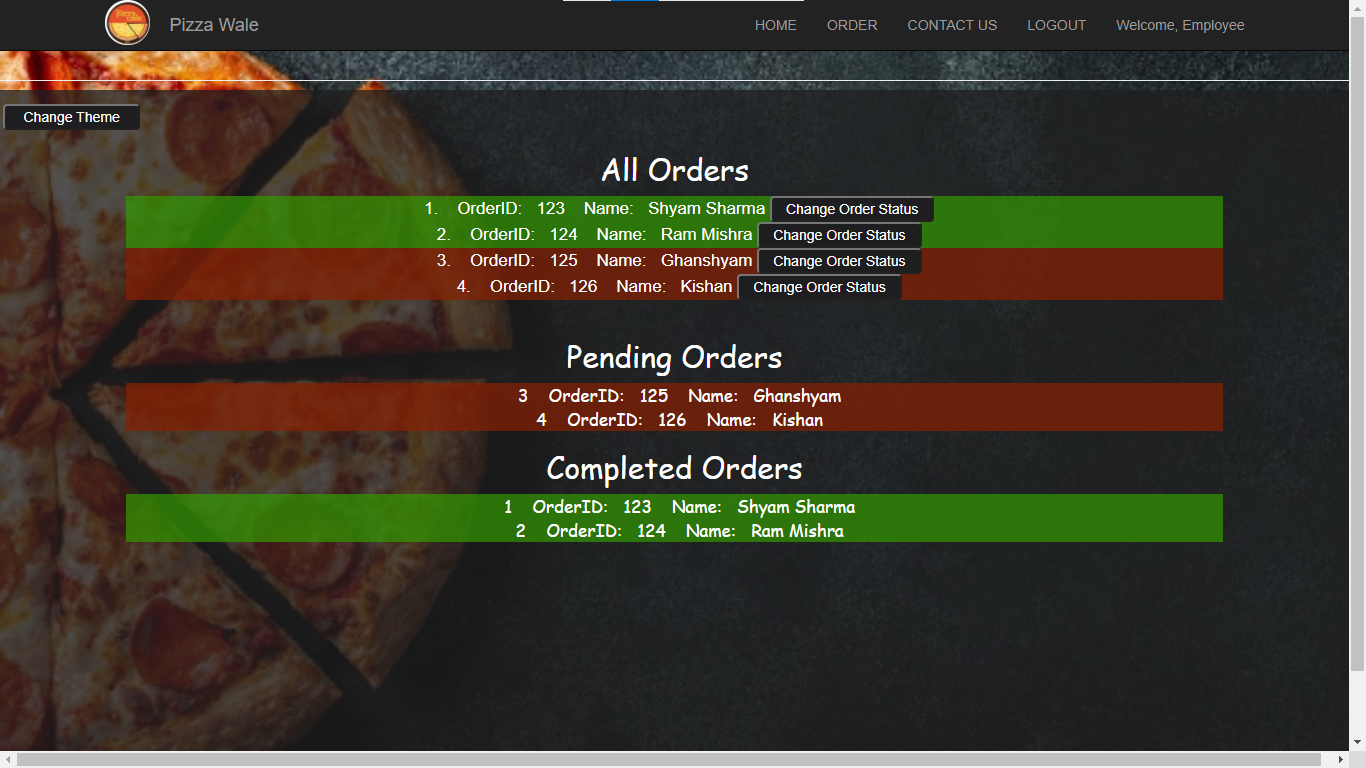
PizzaWale-employee-login-order-status-updation
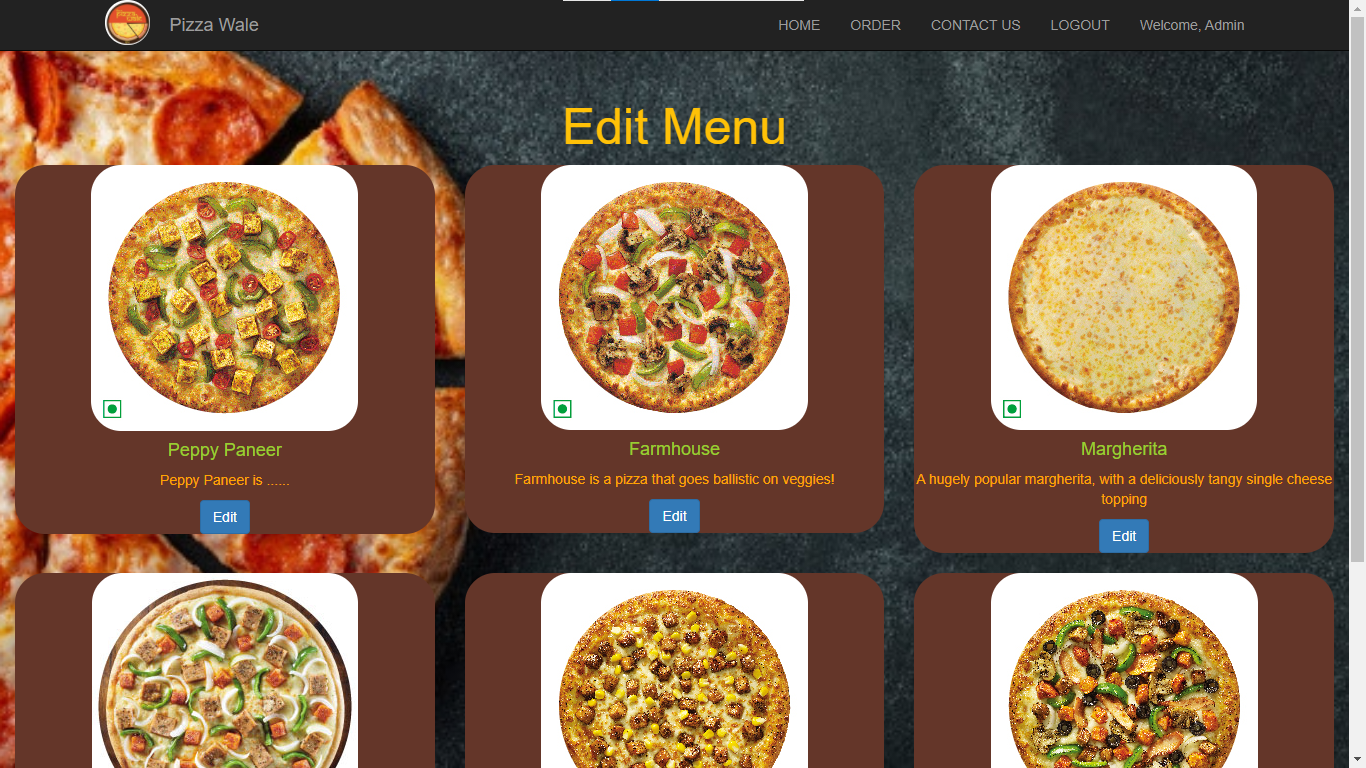
PizzaWale-admin-login-menu-updation-1